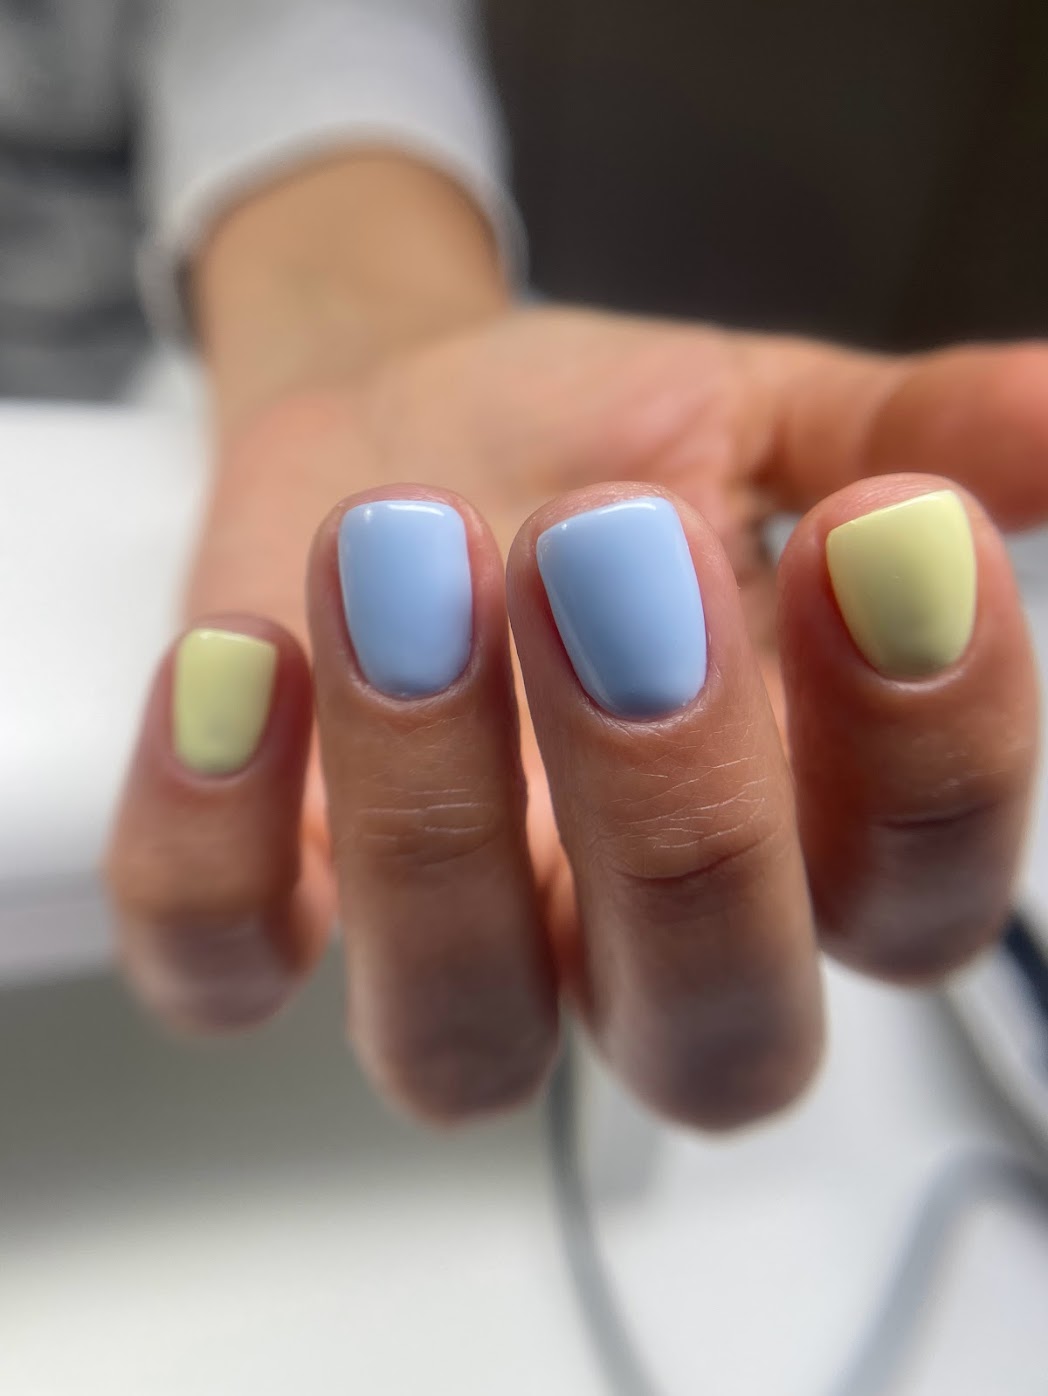
How to do a Russian Manicure?

Russian manicures have become a must-try in the world of nail care, thanks to their precision and the elegant, long-lasting results they offer. But what goes into achieving this sophisticated nail look? Here, we'll walk you through the steps of how to do a Russian manicure, emphasizing the importance of technique and care.
Step-by-Step Guide to a Russian Manicure
Step 1: Preparation
As with any manicure, start by sanitizing your hands and nails. Ensure your nails are free of any old polish or treatments. The nails should be clean and dry before you begin.
Step 2: Nail Shaping
Shape your nails to your desired style using a nail file. Whether you prefer a square, round, or almond shape, it's essential to do this before working on the cuticles, as shaping can affect the cuticle line.
Step 3: Softening the Cuticles
Apply a cuticle softener to the nail beds. This step is crucial as it prepares the cuticles for gentle removal and makes them easier to work with. Give the softener a few minutes to work its magic.
Step 4: Cuticle Care
This is the heart of the Russian manicure. Using a specialized electric nail drill with a fine bit, carefully remove the dead skin and excess cuticle. This process requires a steady hand and a lot of patience. Work slowly around the entire nail bed, paying close attention to avoid damaging the natural nail or the live cuticle area.
Step 5: Buffing the Nail Surface
Once the cuticles are taken care of, gently buff the surface of your nails. This not only smooths out any ridges but also helps in better adhesion of the polish or gel.
Step 6: Applying Base Coat
Apply a clear base coat to your nails. This step is essential for protecting your natural nails from any staining and also helps in prolonging the life of the polish.
Step 7: Nail Polish or Gel Application
Now it's time for your favorite part – applying the nail polish or gel. Choose your color or design and apply it carefully. The meticulous preparation of the nails ensures a smooth and even application.
Step 8: Top Coat and Moisturizing
Finish off with a top coat to seal in the color and add that extra shine. Once everything is dry, don’t forget to moisturize your hands and the skin around the nails. A good quality cuticle oil or hand cream will do wonders.
Tips for a Successful Russian Manicure
-
Patience and Precision: The key to a great Russian manicure lies in the details. Take your time, especially when working with the electric drill around the cuticles.
-
Quality Tools: Invest in good quality tools and products. This not only makes the process easier but also ensures the health and safety of your nails.
-
Hygiene: Always ensure that your tools are sanitized. This is crucial to prevent infections.
-
Practice Makes Perfect: If you’re doing this at home, remember that it takes practice to perfect the technique. Start slowly and be gentle.
-
Professional Help: If in doubt, seek professional help such as About U Nail Studio in Port Melbourne. A trained nail technician can provide a safe and beautiful Russian manicure.
Conclusion
A Russian manicure is a perfect choice for those who value precision and elegance in their nail care routine. While it requires time and patience, the results are undoubtedly worth it. Remember, whether you’re attempting this at home or going to a professional, the focus should always be on the health and safety of your nails. Happy manicuring!